
How to Prepare Your Garage Floor Before Applying a Professional Floor Coating
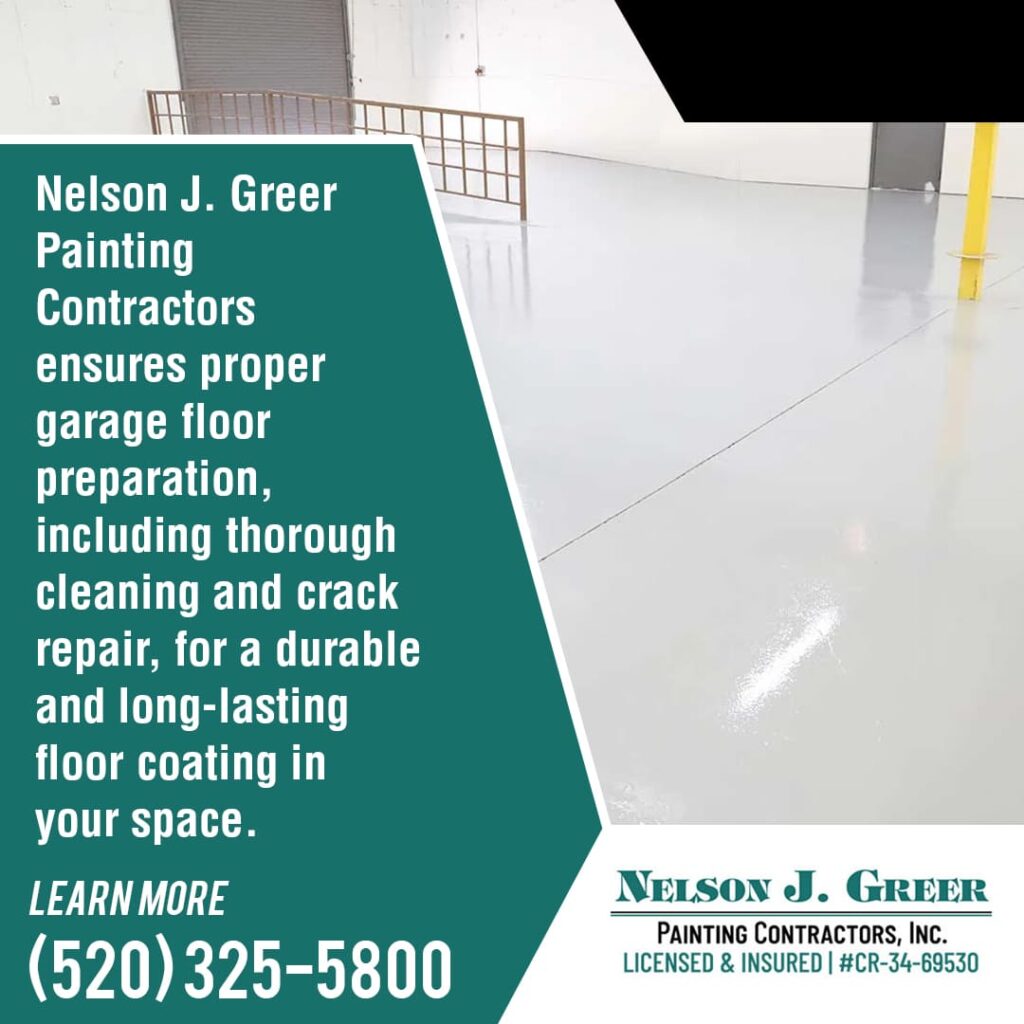
Preparing your garage floor properly is the key to achieving a long-lasting and visually appealing finish with the best garage floor coating. At Nelson J. Greer Painting Contractors, Inc., we understand that the right preparation steps make all the difference when applying a floor coating or garage floor sealer. Whether you want to protect your garage floor from wear and stains or enhance its look with custom garage floor coating colors, taking the time to prepare the surface will save you from costly repairs in the future.
As one of the trusted garage floor coating companies in Tucson, we focus on delivering results that stand up to heavy use and maintain their appearance over time. In this guide, you’ll learn the essential preparation steps needed before applying any professional floor coating, setting you up for a durable and beautiful garage floor that you can be proud of.
Why Proper Surface Preparation Matters
Before applying any floor coating, taking time to prepare the garage floor properly makes a noticeable difference in how well the coating performs and how it looks. Many people underestimate this step, but it affects the entire outcome of your project.
Avoiding Adhesion Failures
Proper surface preparation prevents floor coating from peeling or flaking. Dust, grease, and moisture on the concrete surface block the coating from sticking correctly. These contaminants act like barriers, causing the coating to lift or chip soon after application. Clearing these materials before you apply the coating creates a firm bond that holds up over time.
Improving Durability and Longevity
Preparing the floor increases the coating’s lifespan considerably. Any cracks, dirt, or moisture left behind weakens the coating’s resistance to wear from foot traffic, vehicles, or chemical spills such as oil leaks. A clean, repaired surface helps the garage floor sealer withstand daily use, saving you from frequent touch-ups or costly repairs.
Maximizing the Visual Finish
Surface preparation creates a smooth, uniform appearance for coatings. Dirt and surface damage affect how garage floor coating colors appear once applied. Stains, rough spots, or uneven areas cause colors to look blotchy or faded, taking away from the overall aesthetics. By thoroughly cleaning and repairing the floor beforehand, the colors become richer and more consistent, transforming your garage into a more attractive space.
Initial Cleaning Steps
Preparing your garage floor for a new coating starts with thorough cleaning. This phase removes any obstacles that could affect how well the coating sticks and performs over time.
Remove All Furniture and Stored Items
Clear the entire garage floor before applying the coating. Taking out everything, whether it’s tools, boxes, or vehicles, gives you complete access to the surface. Without clutter, you can clean every inch thoroughly and avoid missing spots where dirt or debris might hide. This step also creates a safe workspace for applying the floor coating without interruptions or damage.
Sweep and Vacuum Debris Thoroughly
Dust and dirt must be completely removed to avoid coating imperfections. Sweeping alone isn’t enough. Using an industrial vacuum after sweeping collects fine particles that could otherwise get trapped under the coating. Even small dust or grit can cause the finish to look uneven or peel over time.
Degrease the Surface Using Industrial Cleaner
Grease, oil, and chemical residues require specialized cleaning products. These substances form invisible barriers that prevent the garage floor sealer from bonding correctly. Ordinary soap and water won’t break down these contaminants. Instead, industrial-grade degreasers dissolve oils and grime, preparing the concrete for the coating. Proper degreasing reduces the risk of coating failure and extends the life of the floor finish.
Common Contaminants That Interfere With Adhesion
Grease spots, oil stains, paint drips, and accumulated dust are frequent culprits that weaken the bond between concrete and coating. Each of these must be identified and removed fully before applying any sealer or coating. Overlooking even a small grease stain can lead to bubbling, peeling, or flaking later on.
Nelson J. Greer Painting Contractors emphasizes these cleaning steps as a foundation for successful garage floor coating projects. Taking the time to clear, sweep, vacuum, and degrease sets the stage for a durable and attractive finish that lasts for years.
Assessing and Repairing Surface Damage
Before you apply any floor coating, it’s important to carefully check the condition of your garage floor. Damage such as cracks, pits, or moisture problems can affect how well the coating performs and lasts over time. Taking the time to identify and fix these issues will protect your investment and help your floor coating look its best for years.
Look for Cracks, Pitting, or Moisture
Inspect the floor for any damage or moisture issues before coating. Small cracks and surface pitting create weak spots where the coating may not adhere properly or could wear down quickly. Moisture trapped under the coating often causes bubbling or peeling, which can ruin the finish and require costly repairs. Walk your garage floor slowly and examine it under bright light, paying close attention to any discoloration or soft spots that may indicate moisture problems.
Patch and Fill With Appropriate Concrete Repair Products
Use concrete fillers or epoxy patches to repair damaged areas. Once you identify cracks or holes, it’s important to fill them with products designed specifically for concrete repair. These materials bond tightly to the surface and create a smooth, even base for the coating. Uneven surfaces or gaps left unfilled can cause the coating to apply unevenly or wear out faster in high-traffic areas. For larger cracks, epoxy-based fillers provide added strength and flexibility, preventing future cracking and extending the life of your garage floor coating.
Test for Moisture Before Proceeding
Check moisture levels using plastic sheet tests or moisture meters. Before starting your coating project, place a square of plastic film on the concrete and tape down the edges. After 24 to 48 hours, if you see condensation or dark spots beneath the plastic, the floor holds too much moisture for coating at this time. Additionally, moisture meters can provide exact readings. Addressing moisture issues before coating protects your floor and helps the coating last longer.
At Nelson J. Greer Painting Contractors, we have handled hundreds of garage floor projects across Tucson and Phoenix, and thorough surface assessment and repair remain key steps for all of them. Taking this care early saves you from premature coating failure and gives you a garage floor that stands up to daily use.
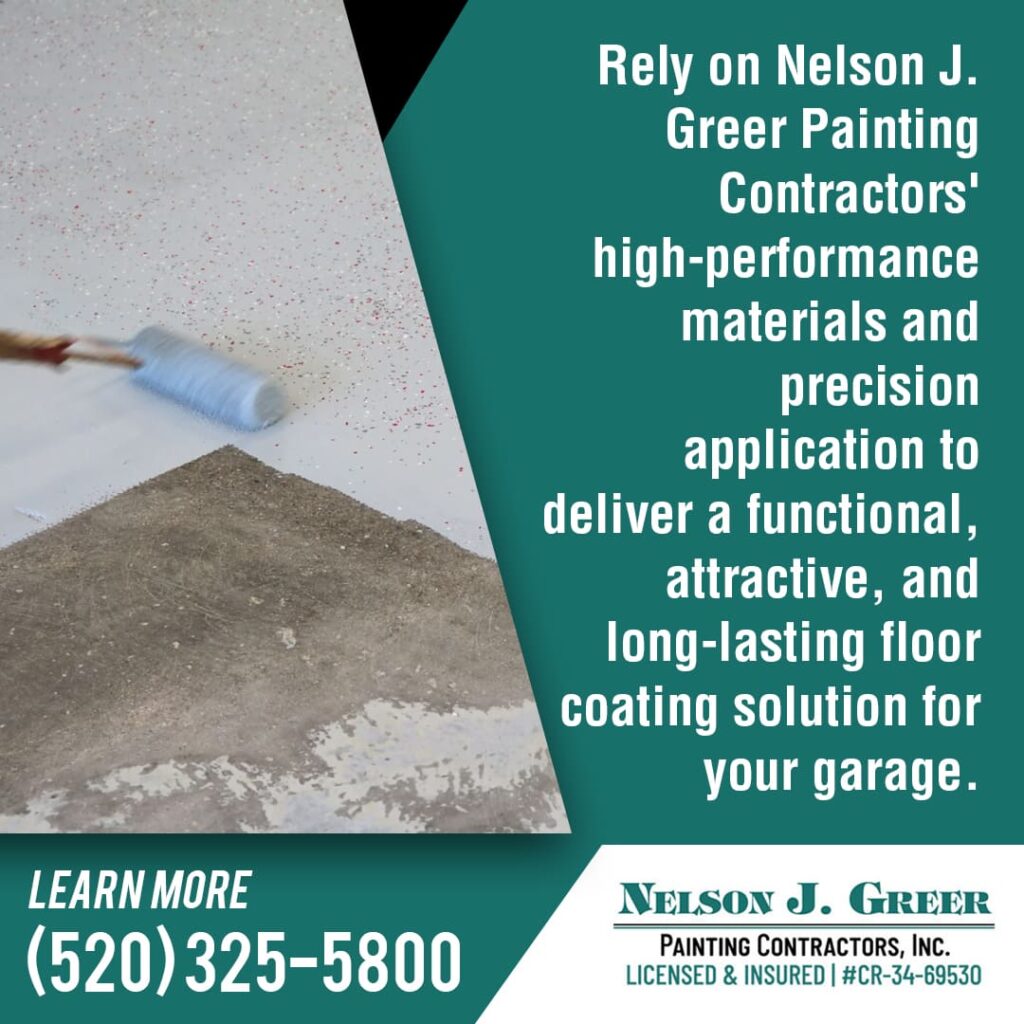
Profiling the Surface for Better Bonding
Before applying a floor coating, the texture of your garage floor plays a major role in how well the coating will stick and perform. Taking time to prepare the surface texture can save you from common problems like peeling or flaking later on.
Why Surface Texture Affects Coating Performance
A slightly roughened surface provides better grip for the coating. If your concrete is too smooth or glossy, the coating struggles to adhere properly. This weak bond often leads to flaking or peeling, which reduces the lifespan of your floor coating. Surfaces with a proper profile improve adhesion strength, making the coating more resistant to wear and tear. Simply put, a textured surface creates a “tooth” for the coating to cling to, allowing it to perform better under daily stress.
Mechanical Etching vs. Acid Etching
Mechanical etching uses grinders or shot blasters to roughen the concrete physically. This method involves abrasion that removes the top layer and creates a uniform texture. On the other hand, acid etching relies on mild acids to chemically open up the pores of the concrete. While acid etching can work on smaller or less damaged floors, it tends to be less consistent and may leave residues if not rinsed properly. Mechanical etching, especially on floors with heavy wear or oil stains, delivers a more reliable surface for coating. It also prepares floors more quickly, which can reduce downtime for your project.
When to Use a Diamond Grinder or Shot Blaster
Diamond grinders or shot blasters are ideal for large or very smooth surfaces. These tools are designed to create a consistent texture across the entire floor, which promotes stronger coating adhesion and a longer-lasting finish. For garages with high foot traffic or heavy vehicles, such as commercial spaces, this step is essential to withstand daily use. Shot blasting is especially effective for concrete that has been previously coated or sealed, as it removes old layers and prepares the floor for new coatings. Diamond grinding, meanwhile, can smooth out imperfections while profiling, resulting in a surface ready for professional-grade floor coatings.
Final Checks Before Application
Before applying any floor coating, taking the right final steps will help your project succeed and give you lasting results. Paying close attention to the condition of the surface and protecting surrounding areas will keep the finish neat and durable.
Confirm Dryness and Cleanliness
Make sure the floor is completely dry and free of dust before coating. Even small amounts of moisture trapped beneath the coating can lead to bubbling, peeling, or discoloration over time. A clean, dry surface allows the coating to bond firmly and last longer. Dust or dirt left behind can create an uneven finish and reduce the coating’s protective qualities. Using a moisture meter or allowing sufficient drying time after cleaning can prevent costly mistakes.
Tape Off Edges and Mask Adjacent Surfaces
Protect walls, baseboards, and other surfaces with painter’s tape and plastic sheeting. Applying floor coating is a precise task, and accidental splatters or drips can damage nearby surfaces. Masking keeps the edges sharp and gives the project a professional look. It also reduces cleanup time and prevents the risk of damaging painted or delicate areas in your garage.
Choose a Compatible Primer or Basecoat
Apply a primer compatible with your chosen floor coating system. Primers play an important role by sealing porous concrete, which prevents the coating from soaking unevenly. This leads to better adhesion and a smoother finish. Using the right primer can also improve resistance to chemicals and wear, extending the lifespan of your garage floor coating. Different coatings require different primers, so matching the products based on manufacturer recommendations is important.
At Nelson J. Greer Painting Contractors, we do these final checks carefully to deliver garage floors that meet high standards for durability and appearance. These steps are key to achieving the best results from your floor coating project.
Choosing the Right Floor Coating System
Selecting the right floor coating system is a vital step for a garage that will last and look great. Different garages have different demands, so matching the coating to your specific use case can make a noticeable difference in performance and durability.
Matching the Coating to Your Use Case
Select a floor coating suited to the garage’s function: residential, commercial, or industrial. For most residential garages, epoxy coatings offer a reliable and affordable solution. They provide strong resistance to everyday wear and chemicals like motor oil or antifreeze. Commercial garages often require more heavy-duty protection, where polyurethane coatings can provide extra toughness and resistance to UV light, which helps prevent discoloration if your garage receives much sunlight. Polyurethane also offers a slightly more flexible finish, reducing the chance of cracking under temperature changes. Industrial garages, which face frequent heavy machinery traffic and chemical exposure, usually benefit from thicker coatings with specialized additives for extra durability.
Comparing Garage Floor Sealer Types
Garage floor sealers include acrylic, epoxy, and polyurethane varieties. Acrylic sealers dry faster than other options, which can speed up project completion. However, their protective qualities are more limited, typically lasting one to two years before needing reapplication. Epoxy sealers form a hard, chemical-resistant surface that can last five to ten years when properly applied. Polyurethane sealers stand out for their superior resistance to abrasion, UV exposure, and chemicals, extending the coating’s lifespan further.
Available Garage Floor Coating Colors
Choose from neutral tones like grays to brighter, custom colors. Neutral shades such as slate gray or charcoal are popular because they mask dirt and wear effectively. For those wanting to personalize their space, a variety of vibrant hues and metallic finishes are available to complement your garage’s design or even improve lighting by reflecting natural and artificial light. Color chips or flakes can be added to coatings for added texture and visual interest, creating a professional, polished look. Selecting the right garage floor coating colors can transform your garage from a simple utility space into an inviting, well-maintained area.
Benefits of Working With Trusted Garage Floor Coating Companies
Experienced garage floor coating companies deliver expert preparation, application, and warranties. Choosing a well-established company reduces risks such as coating failure or uneven application. Contractors familiar with local climate and surface conditions can recommend the best products and methods tailored to your garage.
Companies like Nelson J. Greer Painting Contractors bring decades of experience in applying floor coatings in Tucson, using proven materials and equipment to deliver results that last. Working with us means you gain access to manufacturer warranties and service guarantees, protecting your investment and giving you confidence in your garage floor’s performance.
Why Homeowners and Businesses Choose Nelson J. Greer Painting Contractors
Nelson J. Greer Painting Contractors brings decades of experience to floor coating projects. With more than 220 years of combined family expertise, we have completed thousands of successful projects across Tucson and Phoenix. Our reputation for delivering on time and within budget has made us a preferred choice for property owners who want durable, attractive floors. Our attention to detail and commitment to quality directly benefit customers looking for long-lasting protection.
What Sets Us Apart in Floor Coating Applications
Our team uses professional-grade equipment and industry-approved materials. This combination allows us to prepare surfaces thoroughly and apply coatings that meet high-performance standards. We don’t apply a one-size-fits-all solution; instead, each project receives customized treatment based on the client’s specific needs. From selecting the right garage floor coating colors to recommending maintenance routines, we provide guidance for the best garage floor coating services rooted in practical experience. This personalized approach results in finished floors that look great and stand up to daily wear.
Schedule an On-Site Quote or Consultation with Nelson J. Greer Painting Contractors
Trust the experts at Nelson J. Greer Painting Contractors to deliver high-quality floor coating solutions that stand up to time and traffic. Whether you need surface preparation, crack repair, or help choosing the right garage floor coating colors, we’re here to help every step of the way. Call us today at (520) 325-5800 to arrange a free estimate at your property.